This article will show you how to:
⚠️In order to access the Connection Management section of the Customer Portal, users need the Connection Manager or User Administrator role. Click here to learn how to manage user roles.
Set up a new data connection
The BUCS Connection Hub allows you to seamlessly establish connections with various data sources by using step-by-step connection wizards. You can connect both on-premises and cloud-based data sources. Once established, these connections will continuously refresh data in the BUCS platform.
1. Go to the Connection Hub
Log in to your BUCS Analytics account. Click on Customer Portal > Connection Management > Connection Hub.
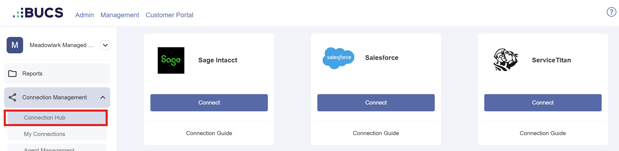
2. Search to find the data source you want to connect
Use the search bar or scroll though the list of connections to locate the data source you want to connect.
3. Review implementation guides
Click the Connection Guide link on the data connection card you want to connect to and review the connection implementation guide. This guide provides an overview of the connection setup steps.
⚠️ Some connections will require you to provide information such as usernames, passwords, company IDs, and/or API keys tied to the data source you are connecting. The connection guide will provide guidance on where to locate this information within the data system (e.g., where to find your NetSuite access token within your NetSuite account).
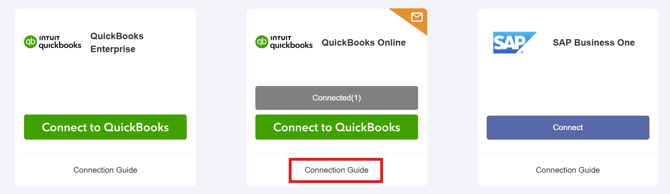
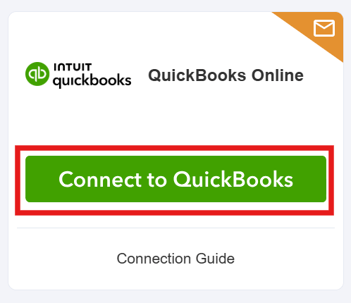
4. Connect
Click Connect on the data connection card. You will be taken to the first page of the step-by-step connection wizard.
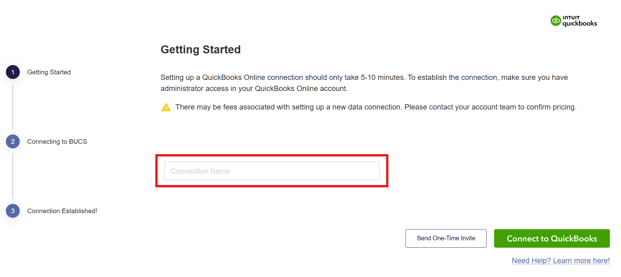
5. Name your connection
Name the connection something specific and meaningful as the connection name will be displayed in various locations in the BUCS platform. Click Connect.
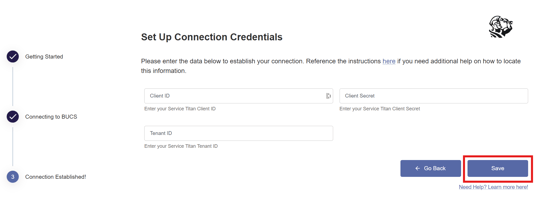
6. Provide information needed to establish the connection
-
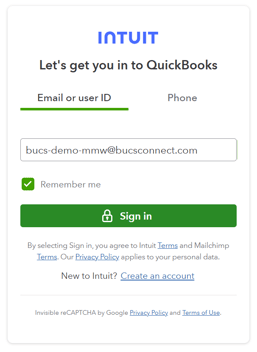
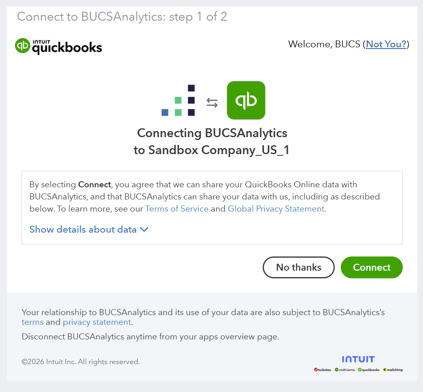
For cloud-based connections, you will be directed to login to your data system and grant BUCS permission to the data source.
-
For some connections, you will need to provide additional information such as company IDs and API keys. Click Save after providing the information.
⚠️ You can click on the Need Help? Learn more here! link from any step of the connection wizard and the implementation guide will provide guidance on where to locate this information.
-
For on-premises data sources, you will need to install the BUCS Remote Agent before setting up the data connection. Then you will need to provide information such as server name and database. Click Save after providing the information.
⚠️Click here to learn more about how to install the BUCS Remote Agent.
7. Connection established
If the connection was established successfully, you will see a Connection Established message. If the connection was not established, you will see a message asking you to attempt to connect again and click Retry.
ℹ️Connections default to refreshing data sets daily. You can work with your BUCS account team if you need to adjust the refresh frequency.
Request a data connection not available in the Connection Hub
If a data source is not yet available in the Connection Hub, BUCS can still integrate the data source.
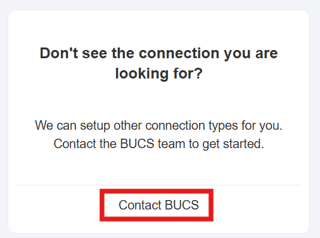
1. Go to the Connection Hub and Contact BUCS
If the data connection you have searched for in the Connection Hub is not available, you will see a card instructing you to Contact BUCS.
2. Complete the form
Complete the new data connection form that appears. Enter the name of the data system you want to connect, a description of how you want to use the data and click Submit.

3. BUCS team will reach out
The BUCS team will reach out with next steps on how to set up the data connection.