There may be fees associated with setting up a new data connection. Please contact your account team to confirm pricing.
Pre-Implementation
- To connect you will need full administrator access to NetSuite, with the ability to setup users and role permissions.
- If you want to invite a guest user to establish a connection, please follow the instructions here. The guest user will still need to setup a BUCS Analytics Integration in NetSuite and follow the NetSuite set up steps outlined in this guide.
Implementation
First we need to make sure your Company is set up to allow this type of integration.
1. Go to Setup > Company > Enabled Features.
Go to Setup > Company > Enabled Features.
2. Click on the Analytics tab and make sure KPI SCORECARDS and SUITEANALYTICS WORKBOOK are checked. 
3. Click on the SuiteCloud tab.
4. Scroll down to the SuiteTalk (Web Services) section and ensure the SOAP WEB SERVICES and REST WEB SERVICES boxes are checked.
5. Scroll to Manage Authentication section and ensure OAUTH 2.0 box is checked.

Next we need to set up the integration in NetSuite.
1. Go to Setup > Integrations > Manage Integrations > New.

2. Name the integration BUCS Analytics Integration and ensure the State is set to Enabled.

3. Under the Authentication tab, make sure AUTHORIZATION CODE GRANT, PUBLIC CLIENT, CLIENT CREDNETIALS (MACHINE TO MACHINE) GRANT, RESTLETS, REST WEB SERVICES, SUITEANALYTICS CONNECT are all checked. 
4. Enter the REDIRECT URI:
- If you are establishing the connection as a BUCS user for your company enter: https://connect.bucsanalytics.com/customerportal/connectionwizard
- If you have been invited to setup a connection and do not have a BUCS login enter: https://connect.bucsanalytics.com/guestaction/connect
5. Click Save.

6. After clicking save, the CONSUMER KEY and CONSUMER SECRET will appear at the bottom of the page. Copy and retain the CONSUMER KEY and CONSUMER SECRET before leaving the page. These values will need to be entered into the BUCS Connection Hub in a later step.
These credentials will not be displayed after leaving the page. If you lose or forget the credentials, you will have to generate new ones.

Now we need to create the NetSuite integration in the BUCS Connection Hub.
1. Go to BUCS Customer Portal > Connection Management > Connection Hub. Locate or search for the NetSuite connector and click Connect.
2. Name your connection and click Next. The connection name should be descriptive and specific to the connection you want to establish.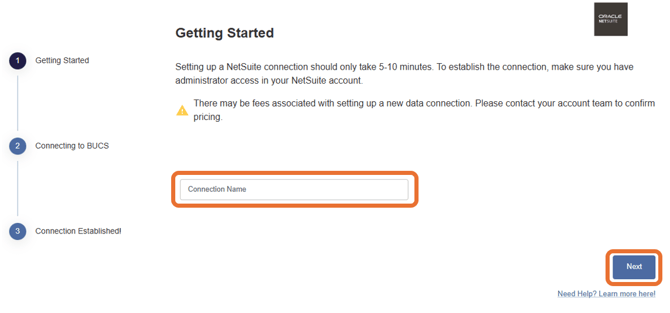
3. Provide the Consumer Key and Consumer Secret values you retained from previous setup steps and provide your NetSuite Account ID. Click Save. 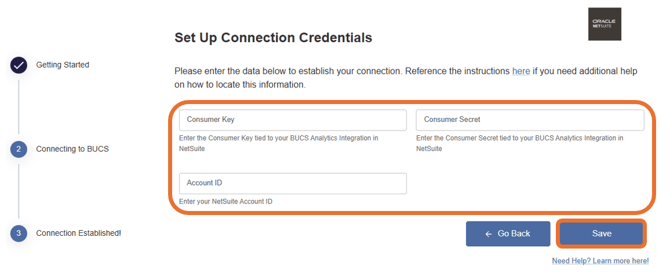
ℹ️ You can find your NetSuite Account ID by logging into NetSuite and viewing the URL bar. The numeric code at the beginning of the URL is your Account ID.
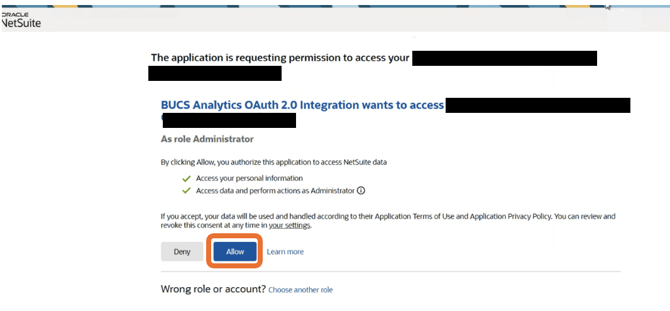
4. You will be redirected to NetSuite to grant BUCS access to your NetSuite data. Click Allow.
5. If the connection was successfully established, you will see a message that data from NetSuite is now syncing to BUCS. If the connection was not successful, you will be asked to try again.
NOTE: If you don't see your NetSuite data appear in the BUCS platform in 24 hours, please contact your account team.